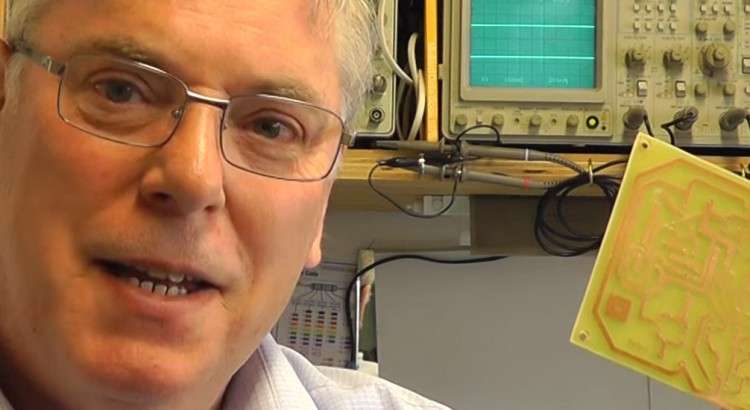
In this tutorial I show you from start to finish how to make your own custom printed circuit board using Photo Etch PCB.
Materials used:
- Jetstar Standard (Ver. II) A4 Inkjet clear film – specially formulated inkjet film for the production of artwork.
- Photo Etch PCB (Single-Sided Epoxy Glass)
- Ferric Chloride Etchant (granules of ready made liquid)
- Photoresist Universal Developer (Crystals or ready made liquid)
- Disposable Latex Gloves
- Ultraviolet exposure unit (can be homemade)
If you liked this video, you may also be interested in my video on making a DIY PCB Exposure Uni

Hi Louis
Can you do a tutorial on negative power supplies and op-amps please? Although I am nearing retirement age I have been learning about electronics for the last couple of years. I wish I had “gotten into” electronics a lot sooner as I really enjoy the subject. I do understand op-amps a bit but am struggling with negative power supplies.
regards
Martin
Hi
Could you show us how you produce the artwork for making a the labels for the front plate showing switch position and terminal connection etc and what material you use.
Thanks
Hi Eddie,
In Part 4 of this project on You Tube I provided some download file of which one included the front panel artwork. Below is a link to that zip file.
http://www.scullcom.com/DC_Load_files_Part4.zip
Regards,
Louis